
Set up AD Web
Complete the AD Web setup wizard to connect your primary domain, map admin roles, activate the product and set up email.
The setup wizard opens the first time you visit AD Web at http://localhost:6060. It has four steps: Primary Domain, Roles & Groups, Activation and Email Delivery.
Before you begin#
- Install AD Web.
- Have your primary domain's connection details ready, including the distinguished name (DN) of an admin user. For help finding a DN, see How to get the distinguished name of a user, OU or group.
- Have your product key and the email address you used to buy AD Web.
Step 1: Configure your primary domain#
The wizard opens on the primary domain page. This step is required. You can switch to a different primary domain later.
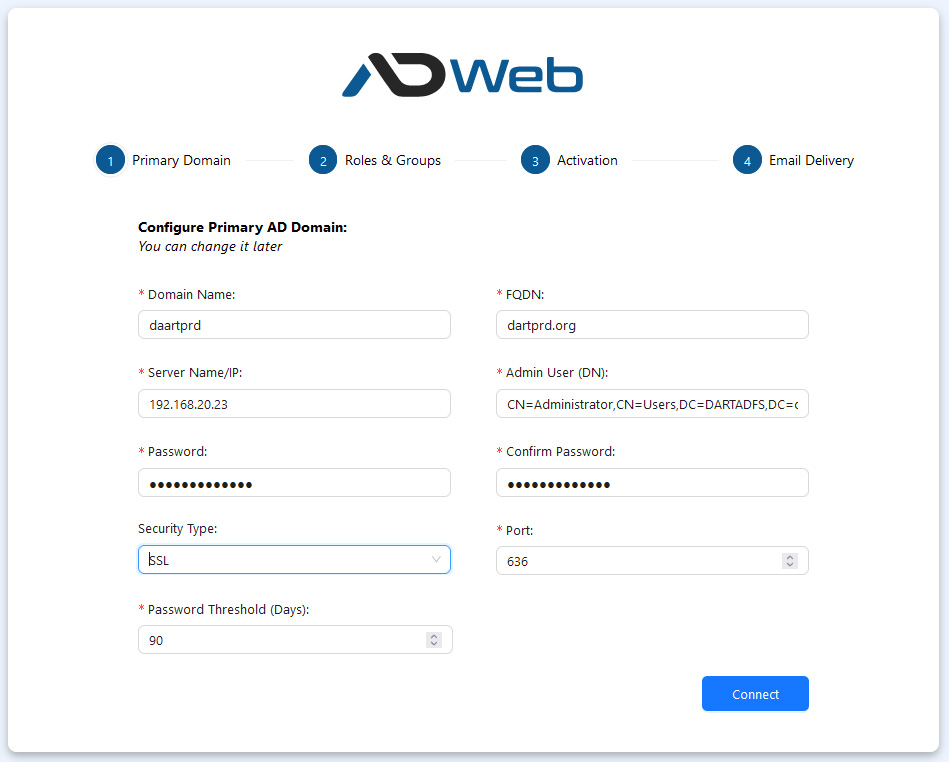
- Enter the domain details: Domain Name, FQDN, Server Name/IP, Admin User (DN), Password and Confirm Password.
-
Set Security Type to SSL or TLS, and enter the matching Port.
Warning
Use SSL or TLS. Without it, password resets and some other features don't work properly.
-
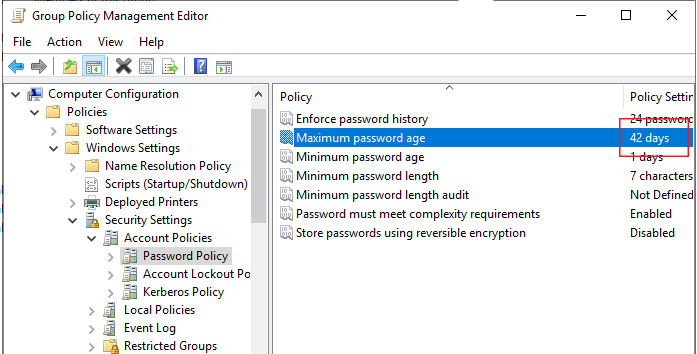
Set the password age to match Maximum password age in your Active Directory Group Policy. AD Web uses this value to show password expiry accurately. You can also set it later.
-
Select Connect.
Step 2: Configure roles and groups#
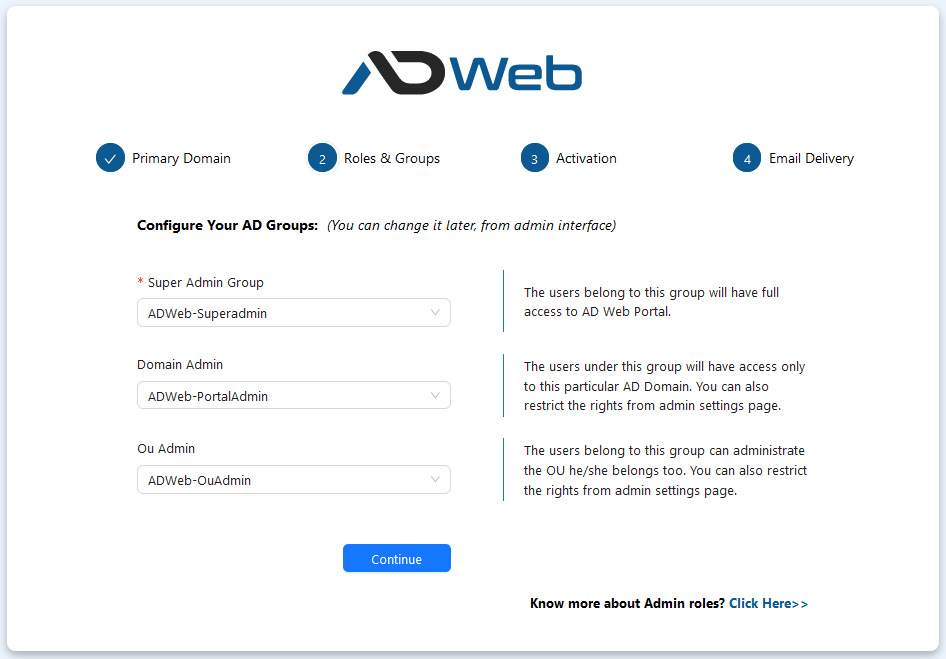
Map your Active Directory groups to AD Web roles. The dropdowns list all your AD groups. You must map the Super Admin Group now; you can map the other roles later.
| Role | Access |
|---|---|
| Super Admin | Top-level admin with unrestricted access to every Active Directory domain you add to AD Web. |
| Domain Admin | Access to this Active Directory domain only. A Super Admin can enable or disable this access in the admin area. |
| OU Admin | Can administer the other users in their own OU. Useful for department or client admins who manage their own users. A Super Admin controls the access rights in the admin area. |
Select Continue. For details on each role, see Admin roles.
Step 3: Activate your product#
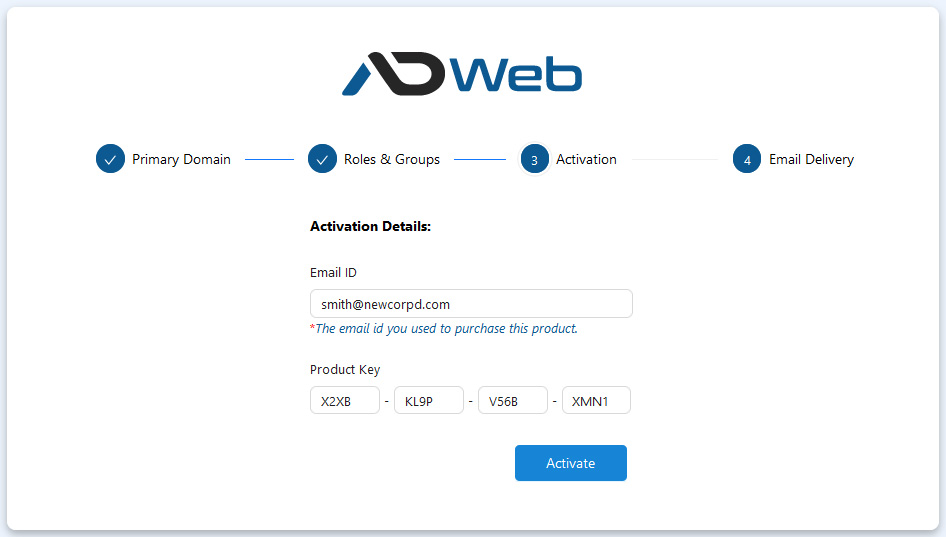
Enter the product key you received when you bought AD Web, and the exact email address you used for the purchase.
Note
To move AD Web to another server later with the same key, deactivate this instance first. See Activation.
Setup is now complete. The next step is optional.
Step 4: Set up email delivery (optional)#
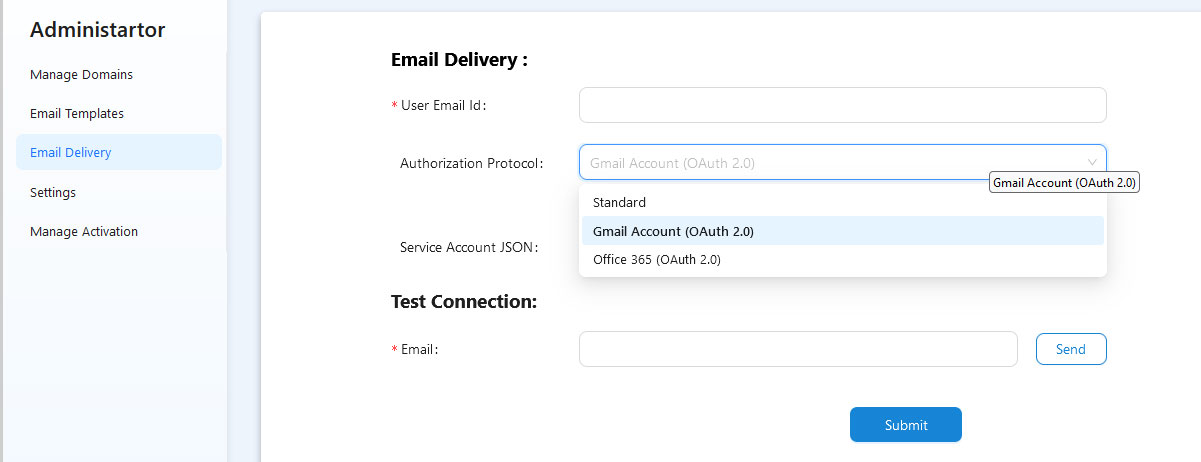
Configure email delivery now, or select Skip For Now and set it up later. See Email delivery.
Sign in#
Sign in as a member of your Super Admin group to start using AD Web. See Get started with AD Web.